Wednesday, October 12, 2016

Halloween Activities

It's that time of year again - Halloween! Here are two fun Halloween activities that I like to do with my kiddos:

1. Trick or Treat Can you guess who's under the sheet?

In this activity the students fill in information about themselves. For kindergarten I had them fill out one word answers. For first grade I had them write full sentences. They then glue their picture on the page and glue a cut out ghost on the top of the picture. My kinders LOVED having their parents guess which one was there's when they came into school. Here are some pics:

Here is the link to this activity on teacherspayteachers: Trick or Treat Can you guess who's under the sheet?

2. In the next activity we created a class book! My students LOVE to create class books. I usually put these books in the class library for them to look at. This book is a spin off of "who stole the cookie from the cookie jar?". It is called "Who Stole the Candy from the Trick or Treat Bag?". Each student creates a page in the book and we read it together at the end. I printed each students picture and then they added a picture of themselves in a costume. Here is a picture of what a page looks like:

Here is a link to the activity on TPT: Who Stole the Candy from the Trick or Treat Bag? TPT

Hope you have a wonderful Halloween!!! 

Sunday, May 15, 2016

Non - Standard Measurement with Flowers

This past week I integrated our science and math units. In science we are learning all about plants and in math we are learning how to measure using non-standard measurements.

*NOTE* Scroll to bottom of the post for the TPT measurement freebie!!!

Day 1: We drew and painted our flowers.
I told the students they only had 2 rules for this activity -
Rule 1: They had to draw 3 flowers on the paper.
Rule 2: One flower had to be short, one had to be medium, and one had to be long.
Here's a picture of what the flowers look like:

 
Day 2: We used our unifix cubes to measure our flowers and collect our data. We recorded our results.
Here's some pictures of the kids recording their results:


Here is what the final product looked like:


You can get this TPT freebie at my TPT store - just click on this link:


Sunday, February 7, 2016

100th Day of School!!!

Thursday was our 100th day of school... and for kindergarteners that is a big deal! The students were so excited to walk through our 100th day banner at the beginning of the day.

 We started off the day singing Jack Hartman's Count to 100 song. After that we read a 100th day of school book and then the students used the numbers from 100 to make a drawing of their own. I have seen this all over pinterest but my favorite drawing from my students was a minion (how creative!):

The students also made lots of animals (giraffes, butterflies, etc) and humans.

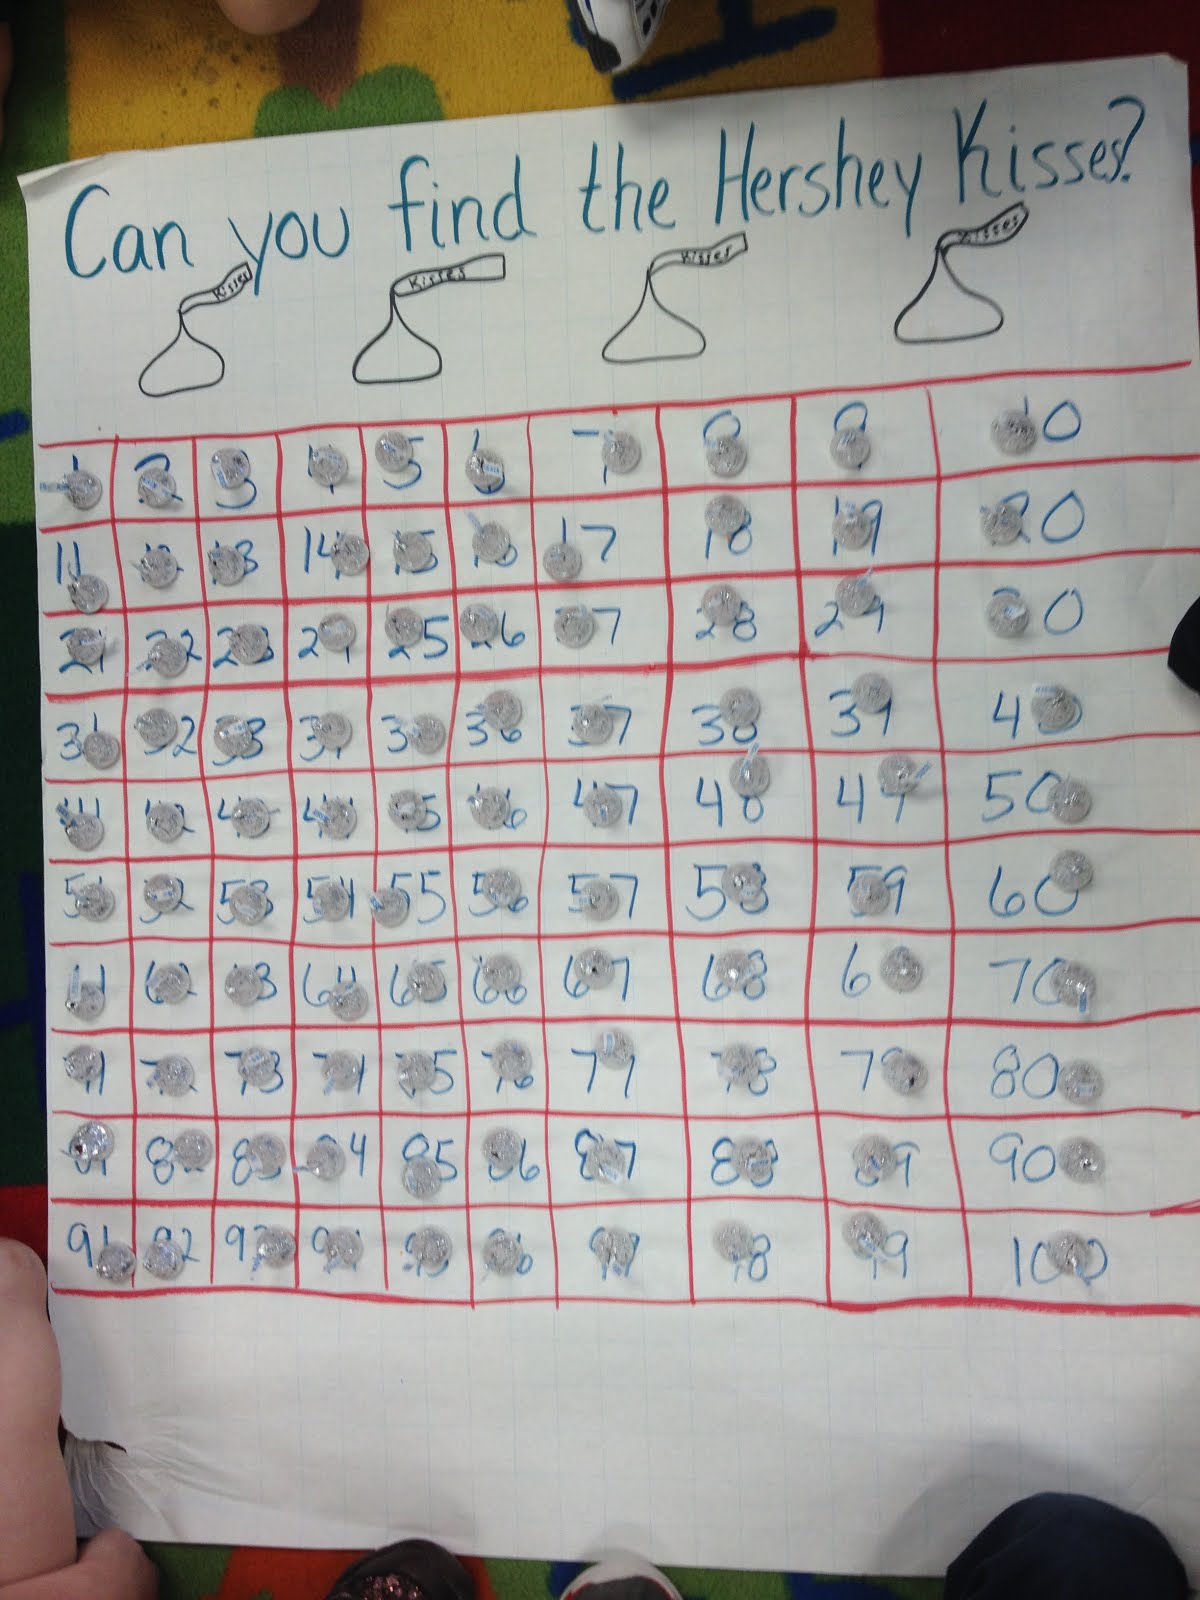
The class then worked hard to find 100 Hershey Kisses hidden around the room.


This year I decided to try something different - rather than do a bunch of activities as a whole group I decided to set up 9 centers around the classroom. This took a lot of upfront work but went really well during the day. I went over all the centers at the beginning and told the class there were a few rules:
1. The students could come and go from the centers as much as they would like.
2. Only 4 students per center  - if there are more then find another center.
3. If they hit, kick, scream, etc. then they sit in the chill out zone for awhile (yes, unfortunately I have to have this rule this year).
The kids loved the centers and asked for them the next day! Here are a few of them:

Center #1: What can you build with 100 legos? What can you build with 100 shapes?
(The boys tended to love this center).


Center #2: Painting center - put 100 gumdrops in the gumball machine. I used q-tips for this activity.


Center #3: What can you build with 100 cups? This was by far the students favorite center! They worked soooo hard to build a masterpiece. Look at this teamwork --

If you were wondering what 100 cups looks like stacked up this is it (and yes it took them forever to finally create this) :


Center #4: 100 day hats. The students put 10 stickers or stamps on each strip of paper. I then stapled them at the top. They turned out really cute.


The last three centers I created and you can get them for free on my TPT page (just click on the pictures to take you to the page).

Center # 5: Ties - the boys created/decorated 100th day ties to wear to the 100th day party.
https://www.teacherspayteachers.com/Product/100th-Day-of-School-Center-Ideas-2375788

Center #6: Hair bows - the girls created/decorated 100th day hair bows to wear to the party. I bought hairclips from the Dollar Tree and taped the bows to the clips. This worked great and stayed in the girls hair all day.
https://www.teacherspayteachers.com/Product/100th-Day-of-School-Center-Ideas-2375788https://www.teacherspayteachers.com/Product/100th-Day-of-School-Center-Ideas-2375788

Center # 7: Bracelets. Both the boys and girls wanted to create 100th day bracelets to wear.
https://www.teacherspayteachers.com/Product/100th-Day-of-School-Center-Ideas-2375788https://www.teacherspayteachers.com/Product/100th-Day-of-School-Center-Ideas-2375788

Center # 8: Fruit Loop necklace center - the students put 100 Fruit Loops on the yarn to create a necklace.


Center # 9 I forgot to take a picture of but I taped a large pond on the wall. Throughout the day the students came over and drew fish for the pond. Our goal was to get 100 fish in the pond.

TPT FREEBIE -   Here is the link to some of my 100th day of school freebies  100th day of school freebies

Well needless to say this teacher was exhausted after the 100th day but it was well worth it - the students had a blast :)
                                                                                                                                    

Winter wonderland

We spent the month of January learning all about winter animals.
 First we learned all about penguins. My students loved doing this free directed drawing by FirstGradeBlueSKies (from TPT). We put our own spin on it and I think they turned out really cute!


We then learned about polar bears. I wanted to do a different type of art project with this one. Bought some blue glitter pain from Michaels and this is what I came up with:

We ended the month talking about hibernation vs. migration. The kids once again amazed me with what the info they retained! We used cut out plates, bear graphics, cotton, and white crayons to create our hibernating bears. I let the kids pick which type of bear was hibernating.

Here is a final picture of our winter wonderland:

Now that January is over it's time to plan the 100th day of school...and anyone who teaches kindergarten knows the importance of the 100th day of school :)

Sunday, January 10, 2016

Let It Snow, Let It Snow, Let It Snow!!!

So part of my New Year's resolution is to finally get my blog up and running. This blogging thing is very intimidating to me but I am going to give it a try! I will just learn by trial and error!

This week in kindergarten we learned all about snow! There is only one problem with this...we live in Florida. We started the week by doing a snow dance but the snow gods did not grant us our request. I was amazed that my Florida kinders new NOTHING about snow! They were so excited when I told them what we were going to do this week. Here is the break down -

Day 1: Coming back from the long Christmas break I did a shape review with the students and then they made shape snowflakes. Some of them are very impressive!!! (For those who are wondering we have a shape cutter at our school so I did not cut out each of these shapes for them).


Day 2: The students really wanted to decorate the room with snowflakes so first we watched Crafty Carol (youtube) teach us how to make a paper snowflake. (Side note: My students LOVE Crafty Carol and Mrs. Booksy - great for a little break during the day). I taught them how to make their own paper snowflakes. We slowly went step by step but the students loved seeing their final snowflake creations. I hung them from the ceiling so that it feels a little more like winter in our 80 degree weather!

Day 3: We looked outside and still...no snow *tear*. I did the only thing I could think of...an ice snowman. The students took turns putting together our ice snowman (we named him Olaf OF COURSE!). As you can see our middle part fell but that didn't stop my students...they were determined to have a snowman!
I took this time to talk about solids vs. liquids and we documented in our science journals what Olaf looked like before and after. Pictures are below. The kids were very sad to see Olaf go and even more sad when they asked where he was the next day and I told them he went down the drain...poor Olaf.

Day 5: What better way to finish off our week learning about snow then by having our very own snowball fight! The students had a blast with this and didn't even realize they were learning in the process! Our snowball fight helped us work on ending sound. Here's how it works:

(1) Give each student a piece of paper with a picture on it
(2) Space the students out around the classroom
(3) Tell the students to crumble up their papers (they are going to have a snowball fight!)
(4) Tell the students to start throwing their snowballs when they hear the music (I played Let It Snow).
(5) When the music stops the students quickly find a snowball and freeze
(6) When you tell them to the students open their snowballs and try to figure out the ending sound of the picture they have.
(7) Students walk to the correct ending sound letter that is posted around the room.
(8) Teacher checks if correct.
Repeat as many times as you would like. My students wanted to keep playing until I finally said enough!


You can get this game for free here at my TeachersPayTeachers store:
https://www.teacherspayteachers.com/Product/Snowball-Fight-Ending-Sounds-2298450

That's all for now. Thanks for reading my first post! More to come later!